Add a new item (analysis, filter, text, image, shape)
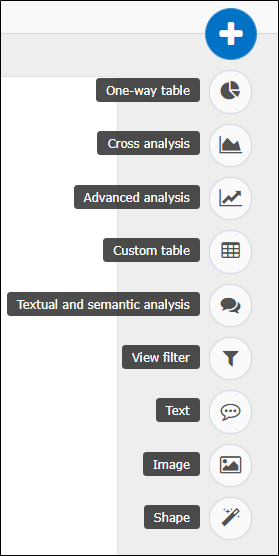
When hovering over the button  on the right, next to the dialog boxes, 9 analysis options appear.
 ANALYSIS AND FILTER
-
The One way table allows you to do a basic sorting using one variable.
-
The Cross analysis allows you to do cross sorting or multivariate analysis with at least two variables analyzed simultaneously.
-
The Advanced analysis allows you to perform a satisfaction analysis, a KeyViews, data analysis, classification and map representation.
-
The Custom table allows you to create advanced analyzes where you can define profiles that will act on the variables to be displayed in your rows and columns.
-
The Textual and semantic analysis allows you to explore your textual data through the display of verbatim, keyword cloud, influences and specificities by context, automatic lexical analysis or through a thematic analysis.
-
The View filter allows you to add a filter, which will be effective on all pages of the view, to study only a specific category of respondents.
TEXT
The text button is used to illustrate the analysis with a text zone that can be edited according to its size, color or font.

To create a text box, proceed as follows:
-
Click on the
button. -
Click on text.
NOTE: It is possible to add a text box by double-clicking the area of the page where you want to place it.
-
Fill in your text in the field.
-
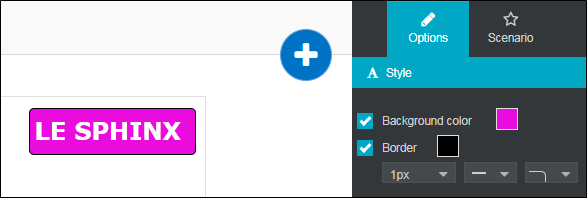
(Optional) Change its appearance (color, background color, border).
-
(Optional) Apply a preset style (Title 1, Title 2, Title 3, Normal, Quotation).
-
(Optional) Change the proportions/change the orientation of the text area using the
 icon.
Apply filtering options to a text field and define the number of decimals to display
It is possible to apply filtering options to a text field that contains a calculation formula and also to define the number of decimal places to be displayed.
EXAMPLE: In a view that displays the results for the year 2022, we want to recall the turnover achieved in 2021 via a calculation formula inserted in a text box that should not be filtered when using the view filters.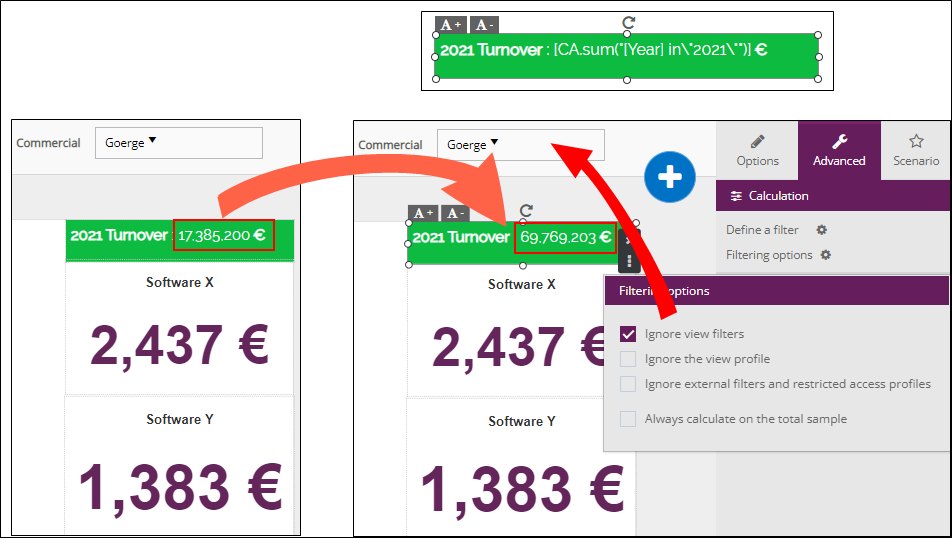
To do this:
-
Select the text box containing the calculation formula.
-
From the Advanced tab, Calculation section, click on Filtering options.
-
Select the filtering option to use.
Learn more about filtering options.
-
From the Format section, set the number of decimals to be displayed.
Insert a hyperlink in a text box
To insert a hyperlink in your text box, proceed as follows:
-
Select your text.
-
Click the button
 .
-
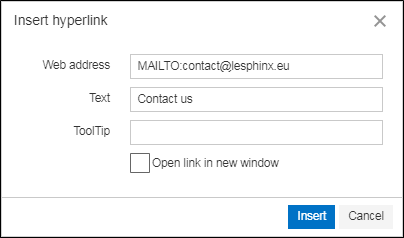
Insert the web address to use.
NOTE: To generate an email to an address when a person clicks on the link, add the term "mailto:" in the Web Address field.
-
(optional) Fill in a tooltip (which will display a text when the link is hovered).
Assign an action to a text box
To assign an action to a text box, proceed as follows:
-
Select the text box.
-
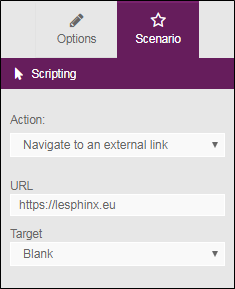
From the Scenario tab, choose an action:
-
Illustrate with a view: allows you to display a view in a popup when clicking on the text.
-
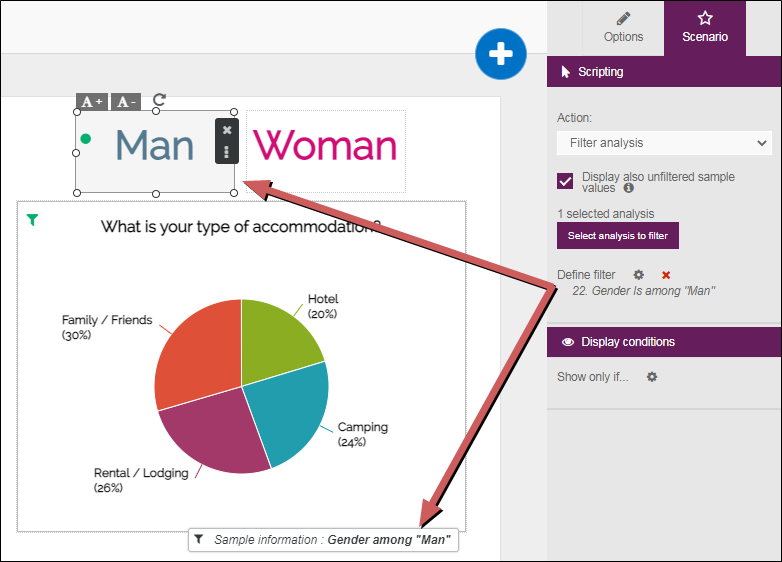
Filter analyses: select the analyses to be filtered and then define the filter to be used.
EXAMPLE: In this example, we have defined a filter "Gender among Man" on the text box "Man".
-
Navigate to an external link: enter the URL then choose the target (open in a new tab or in the current tab).
-
Navigate to a page: choose the page to display when clicking on the text box.
-
Go to a view: choose the view to display when clicking on the text box.
Insert a study parameter in a text box
You can insert a parameter (s) of the study into your view.
EXAMPLE: Display automatically the page number and the total number of pages.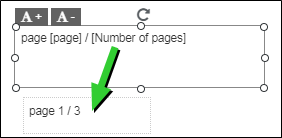
To do so:
-
Double-click on the text box.
-
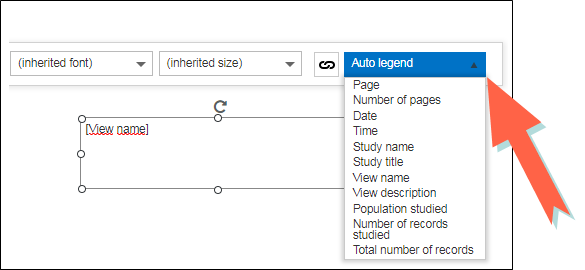
Click on the Auto legend drop-down menu.
-
Select the setting to use.
IMAGE
The image button can be used to illustrate an analysis by adding images or pictograms to the page.
-
Images can be imported from the computer or the internet.
-
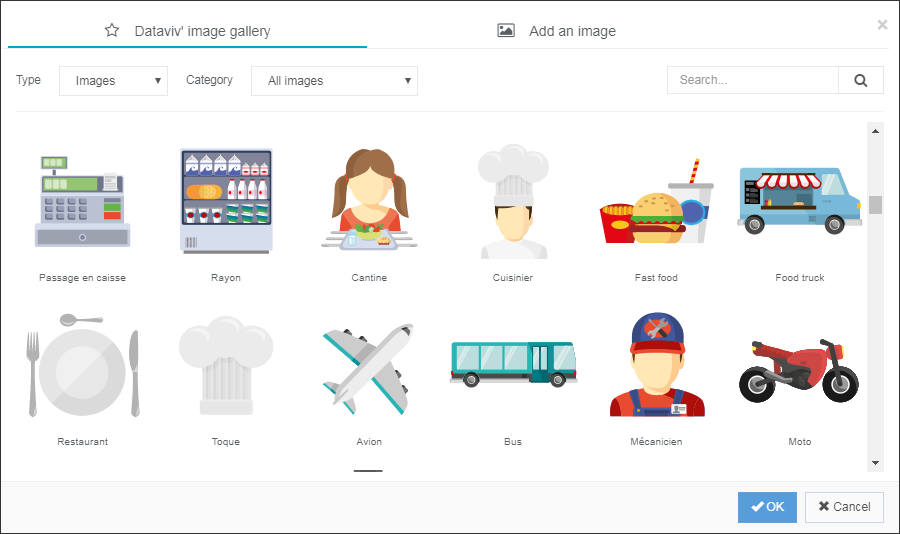
The pictograms can be displayed by category from the category menu or by searching them directly from the search bar.
To import an image / pictogram, proceed as follows:
-
Click on the
button. -
Click on Image.
-
Select the image from the gallery or click on the Add Image tab to import one from your computer or from the internet.
-
Click OK to validate.
-
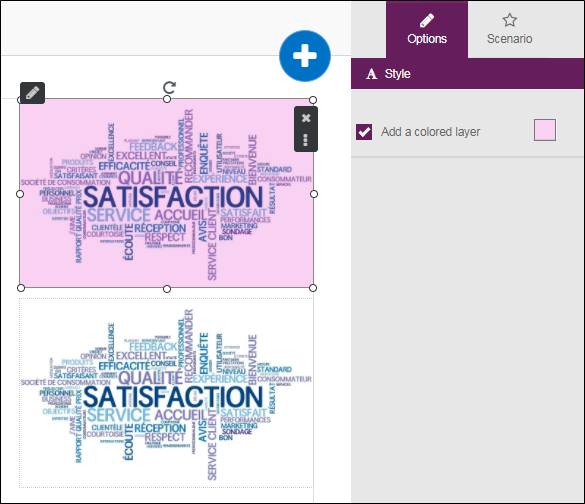
(optional) Modify its style (color of the pictogram, add a colored layer for the images).
-
(optional) Change the proportions/change the orientation of the image using the
 icon.
It is possible to assign an action to an image, to do this:
-
Select the image.
-
From the Scenario tab, choose an action:
-
Illustrate with a view: allows you to display a view in a popup when you click on the image.
-
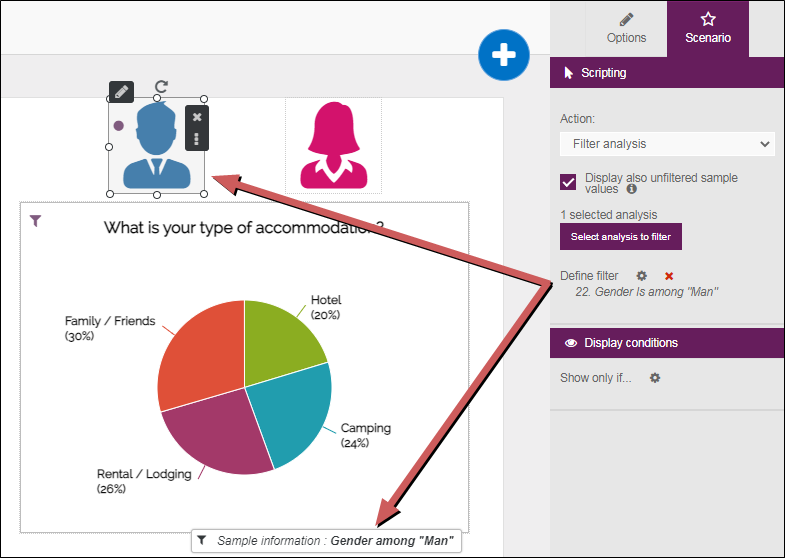
Filter analyzes: select the analyzes to be filtered and the define the filter to be used.
EXAMPLE: In this example, we have defined a filter "Gender among Man" on the pictogram in blue. as shown below.
-
Navigate to an external link: enter the URL and choose the target (open in a new tab or in the same tab).
-
Navigate to a page: choose the page to display when clicking on the image.
-
Go to a view: choose the view to display when clicking on the image.
SHAPE
The Shape button allows you to add figures to better illustrate the analysis.
To add a graphic shape, do the following:
-
Click on the
button. -
Click on the Shape icon.
-
Choose the shape to use.
-
(optional) Change its style (color, border).
-
(optional) Change the proportions / change the orientation of the shape using the
icon.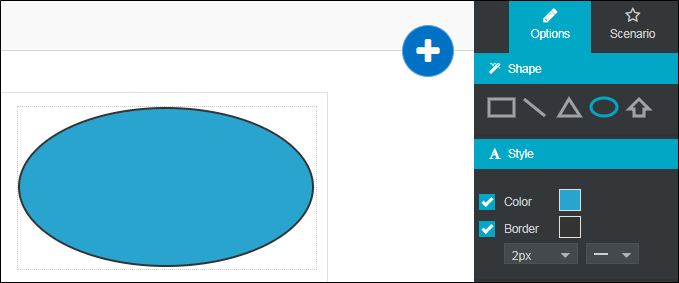

It is possible to assign an action to a shape, to do this:
-
Select the shape.
-
From the Scenario tab, choose an action:
-
Illustrate with a view: allows you to display a view in a popup when you click on the shape.
-
Filter analyzes: select the analyzes to be filtered and the define the filter to be used.
-
Navigate to an external link: enter the URL and choose the target (open in a new tab or in the same tab).
-
Navigate to a page: choose the page to display when clicking on the shape.
-
Go to a view: choose the view to display when clicking on the shape.
-
ADD ELEMENTS TO THE MASK
Text boxes, images and shapes can be added to the mask in order to display them on all the pages in your view.
To do this:
-
Select the elements (image, text box or shape).
-
Right click and click Add to the mask.
NOTE: Once added to the mask, the elements can only be edited from the first page of the view.
To remove an object from the mask area, do the following:
-
Select the element.
-
Right click on it then click Remove from the mask.